015 – A QRP micro-mission in Montagu (2km / 150m elevation)

The wife took part in a crazy 155km gravel race in Montagu that almost everyone dropped out of due to the 42 degree heat, but her and three others finished. #machine

20190317_102432.jpg

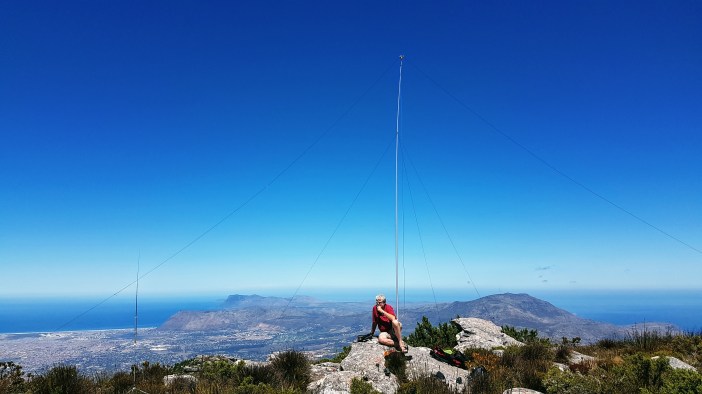
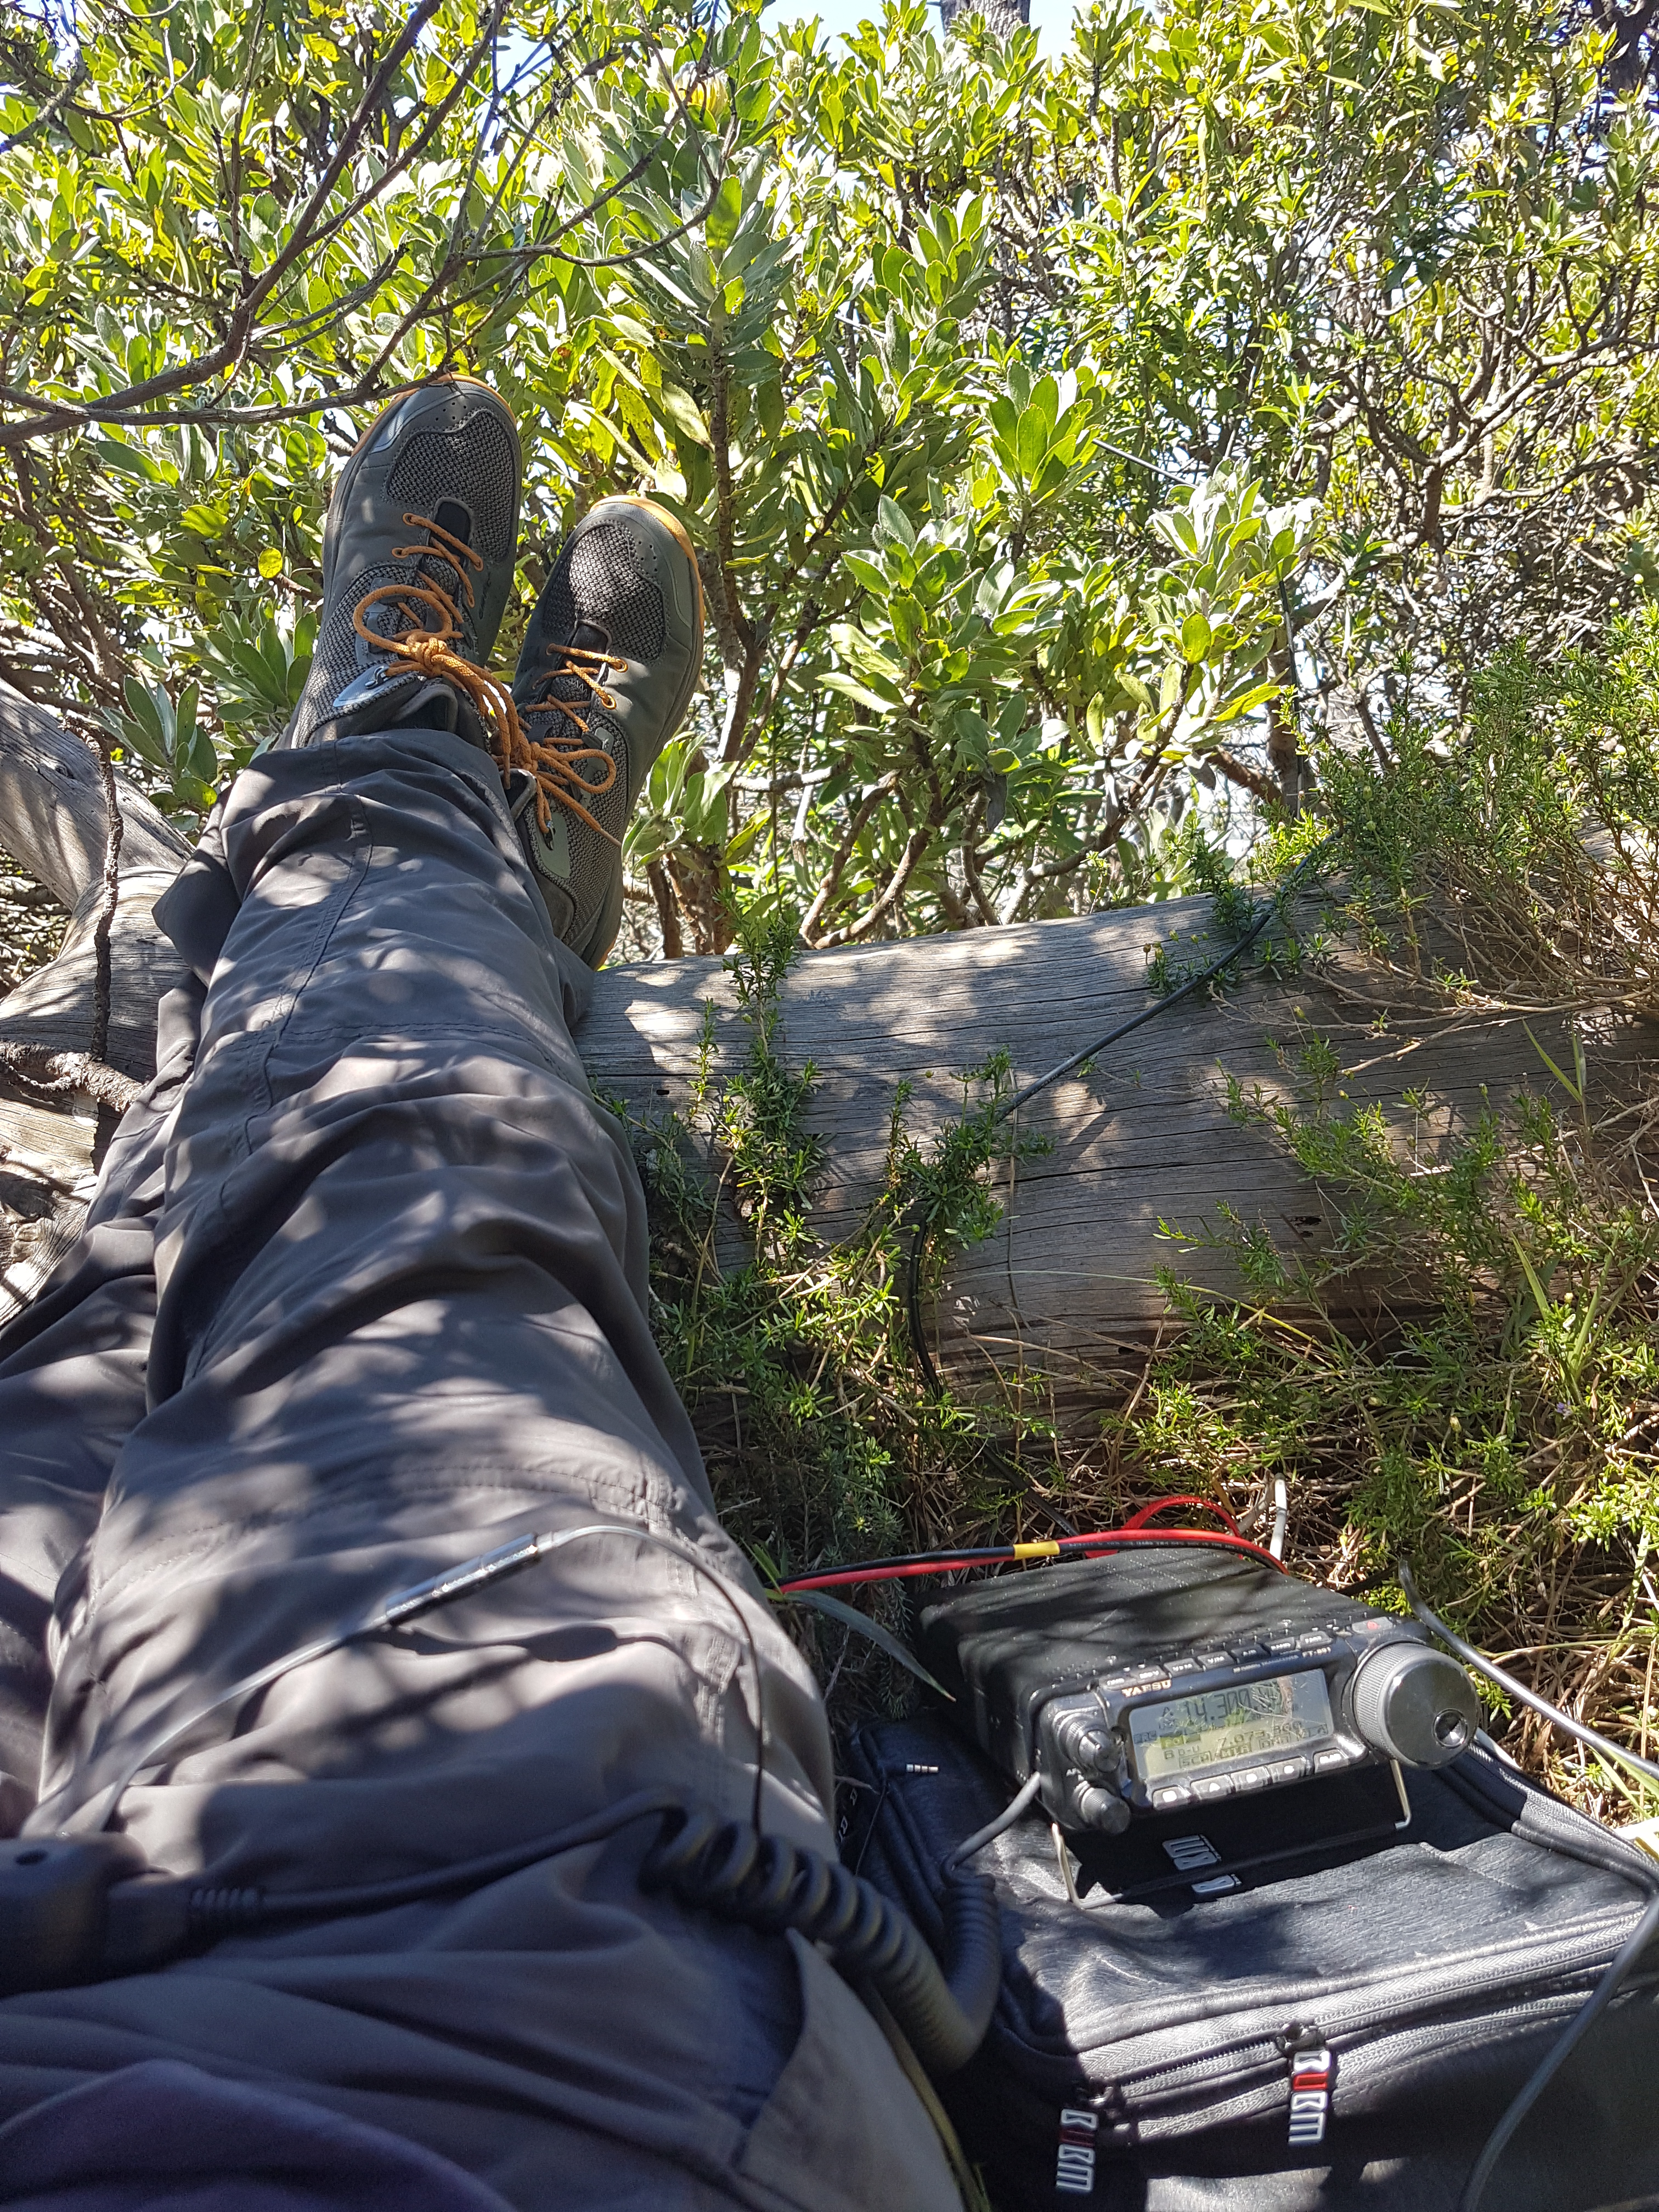
I took the morning after as an opportunity to run up the little mountain behind the place we were staying (actually my parent’s new house) and try out my new QRP radio.

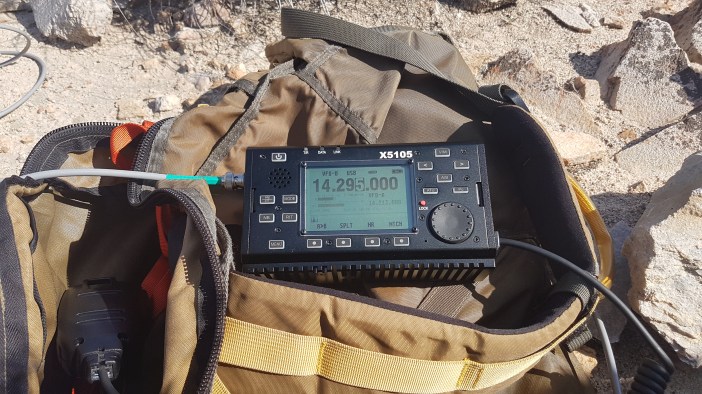
The radio is the Xiegu X5105. It’s small, solid and feels like it was built by nerds who love engineering. You can literally fit this radio into a large pocket, and it is fully featured: Built-in battery, built-in antenna tuner, it even has a built-in mic so that you don’t have to carry the handheld mic.

20190317_092648.jpg

I’d only ever used it once before, very briefly in a forest with a hastily strung up antenna in some trees, and that worked amazingly so I had high hopes.

QRP refers to transmitting at low power while attempting to maximise your effective range. “Normal” ham radios are 100 watts, QRP radios are usually (traditionally) 5 watts or less. That definition has become a bit blurry over the last few years with 15 watt radios being considered QRP. The purists will say 5 watts is the only true QRP. On the other end of the spectrum, there are quite a few hams with 3000 watt amplifiers.

20190317_090637.jpg
On the way up the hill

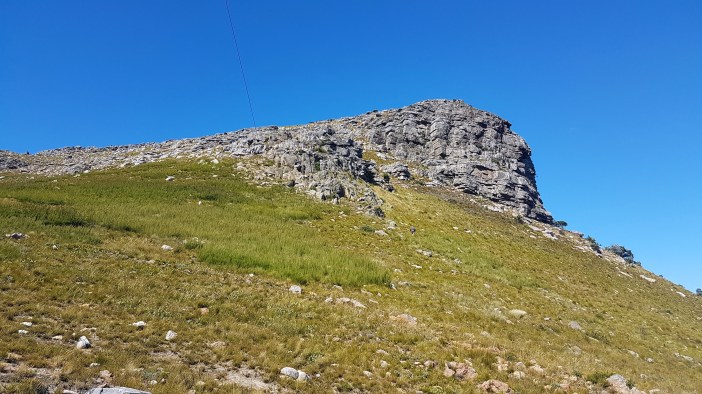
Back to Montagu, there isn’t really a path to the “summit” but I’ve explored the area before and knew a route. Follow the fence-line up the hill and then when you reach the top, turn left and traverse the spine of the mountain up to the highest point. In total it’s probably a 20 minute hike with no real paths, but easy terrain.

20190317_190822.jpg

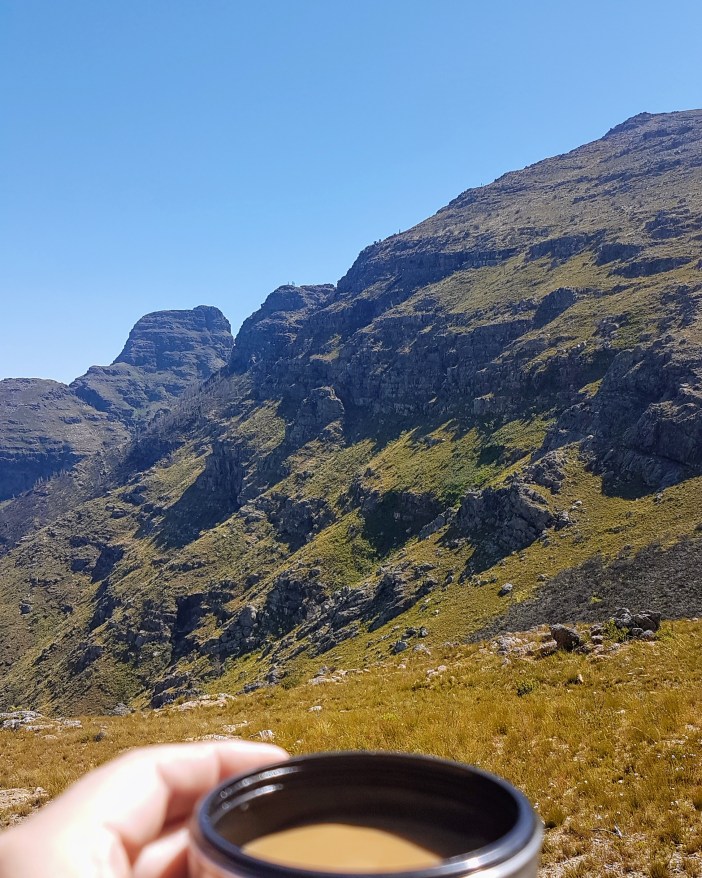
At the top is a small rock cairn and a relatively large area to set up antennas etc. It’s quite exposed as winds blow through the valley behind, get compressed and explode over the cliff and into your face.

I’ve been learning some tricks for setting up in high winds. The two most important ones are:

  1. Keep the mast bent a little in one direction so that it doesn’t flap around.
  2. Rake your dipole legs back into the wind to give your mast extra protection/rigidity in the wind.
20190317_110642.jpg
Note how the mast and dipole legs are raked back into the wind.

So, how did my 5 watts perform?

Firstly, I was in a rush. If I had more time I would have set up a little shady spot and probably made a lot more contacts. That said, I did make multiple 5/9 contacts with stations in Johannesburg and Pretoria, over 1100km (680 miles) away. To achieve this with 5 watts (the power your average phone charger puts out) is incredible.

5/9 is an “RST report” (Readability, Strength and Tone). For voice communications we only report the R and S part, as Tone is important only to Morse code operators. 5/9 is pretty much the best report you can get. There is also 5/9+ and 5/9++ but that’s really just saying “Your signal is so strong my radio can’t measure it accurately”.

So 5/9 means:

  • 5 out of 5 for Readability. (ie. They can make out what I’m saying with no problems)
  • 9 out of 9 for Strength means a very strong signal.

The fact that RST reports are often written in way that makes them look like a fraction (eg. 5/9) is not helpful to people who are just learning about this stuff. It’s not a fraction.

So in summary, I’m a huge fan of this little radio. I will do another more in depth review on it at a later date, specifically with regards to its shortcomings for portable operations on digital modes (which might be fixable with firmware updates from Xiegu).

This does also reconfirm the age old tenet that “It’s all about the antenna“, which should really be: “It’s all about the location and the antenna“. The combination of a great antenna and good location will outperform the most expensive radio every day of the week.

I really do look forward to camping out somewhere in the mountains with my little Xiegu and a tent!

20190317_110520.jpg
Tip for the home gamers: you can use these winders as adjustable guy fasteners, but this only stays tight under pressure. If you drop your mast to change a link dipole this will likely come completely loose.
20190317_110529.jpg
There are HUYGE ants up there.

Summary

Date: 17 March 2019
Distance and Elevation: 2km and 150m Elevation Gain.
Coordinates: Starting point is on a gravel road just behind some houses. Head up the fence line to where you’re at the base of the spine and then head straight up to the rock cairn.
Conditions: Windy but warm and exposed. Wear sunscreen!
Radio Stuff: This is a great spot for testing out kit if you’re new to portable ops and don’t want to hike too far only to discover that you forgot a random connector. If you’re in Montagu for a weekend etc, take Sunday morning to disappear into the mountains.

map.png
The route up. As you can see, you’re not too far from houses but it’s relatively RF quiet up here.

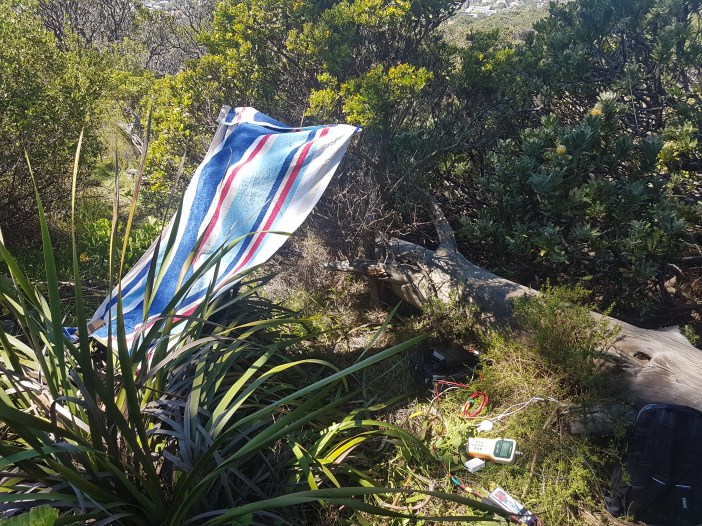
Bonus photos from my previous mission with the X5105 in Newlands Forest

20190309_085506.jpg

20190309_100927.jpg

20190309_123539.jpg

20190316_170500(0).jpg
And a picture of the wife after finishing the race on her semi-vintage gravel monster.
Advertisement

014 – Table Mountain (5km Micro-mission to Maclear’s Beacon)

Back at Cape Infanta I chatted with Dieter in Australia who introduced me to Charly, a German ham who was about to set off on an adventure through Southern Africa and wanted to do some radioing on top of Table Mountain. This had been on my list for a while so it was perfect timing.

20190224_080127.jpg

We met up early to head to the lower cable car station, got into the first car up and then began the 2.5km hike across the top of the mountain to Maclear’s Beacon. We were not mad enough to try hike up with full packs!

20190224_090003.jpg

I really enjoy the little hike to Maclear’s Beacon. You get to see the city (and the reservoirs etc) from a perspective that most people who only loiter around at the Upper Cable Car Station will never see, and it’s not much more than a 30 minutes walk. There’s one slightly strenuous part as you dip into the small valley at the summit of Platteklip Gorge, but otherwise it’s mostly flat.

20190224_151222.jpg

The mountain was showing off Peak-Cape-Town-Weather as it undulated between heavy mist and sunshine 5 minutes later. We arrived at Maclears which is always quite busy with tourists bussing around so we decided to setup our antennas a short distance away, hopefully out of the way.

20190224_144103 (1).jpg

My Inverted-V antenna proved a champ once again as it allowed us to speak to hams all over the South Africa and Namibia, including some QRP to QRP contacts using Charly’s Elecraft KX3 (the Mercedes Benz of low power hiking radios).

20190224_102350.jpg

20190224_124611.jpg

Maclear’s Beacon is also a SOTA summit so I made the required HF and 2m contacts and Charly even managed to make a few contacts via a Amateur Radio satellite as it passed overhead.

20190224_160859.jpg

Summary

Date: 24 February 2019
Distance and Elevation: 5km and 100m Elevation Gain.
Coordinates: Park or Uber to the lower cable car station, take the ride up, then hike across to Maclear’s Beacon.
Conditions: Cool with occasional mist. The weather on top of the mountain can be vastly different from the weather in the city, so be prepared for freezing cold.
Radio Stuff: I would advise taking your own mast. There are no trees and you are unlikely to be able to use the actual beacon as it is usually covered in tourists.
Notes: A fun day out that I can highly recommend to anyone who wants to experiment with their radio in the field from a stunning location.

004 – Dutoitskloof One (MicroMission) <1km

I am really only including this as a blog post so that I can highlight how great a location this is for radio amateurs who want to test their setup in the great outdoors without committing to a crazy hike. From where you park your car to a large, relatively flat open space, is a 300m walk uphill. Just enough to get your heart pumping but still close enough that you might carry something stupid like a table or camping chairs. (I did neither)

20181209_081303.jpg

20181209_112322 (1).jpg

20181209_093422.jpg

What is great about these micro-missions is that they give you an opportunity to look around and think about what might be a great hike, what mountains are around you etc.

For the non-radio-nerd readers, check out hike number 006 where we return to these mountains but climbing up to the top for amazing views.

20181209_095430.jpg
Soon I will come for you too.

Summary

Date: 9 December 2018
Distance and Elevation: <1km and 30m Elevation Gain.
Coordinates: Parking spot -33.696682, 19.074776  Setup Spot: -33.697215, 19.073074
Conditions: Cool with a fresh breeze bordering on “windy” earlier on, but then later hot and very calm.
Radio Stuff: You’ll need a self supporting mast as there are no trees. While technically you’ve got mountains on most sides, you still have great elevation which should give you some great takeoff North and South. There are big power lines running through the valley to the east, but I didn’t pick up any noise.
Notes: The parking spot is quite exposed but with lots of traffic I think it’s pretty safe.

001 – Behind Rhodes Memorial (MicroMission < 1km)

This was really a quick excursion to test my radio kit, but it has a nice steep uphill to the trees which gets the heart pumping for a few minutes.

20180929_123136.jpg


Route

Park at the back left-hand corner of the Rhodes Memorial parking lot and start walking up the obvious path that winds slightly to the left. You’ll cross over a contour path (not *the* contour path obviously) but just keep on ascending until you reach some tall pine trees with the right kind of distances between them (if you’re doing radio stuff). I bundu-bashed off the trail about 100m so that no one would see me once I was set up, but I did get some very strange looks from other hikers while I was trying to get the damned throw lines up.

20180929_124823.jpg

20180929_103954.jpg

20180929_113804.jpg

20180929_124954.jpg

Summary

Date: 29 September 2018
Distance and Elevation
: <1km  and 60m Elevation Gain.
Coordinates: Parking spot -33.952742, 18.458279   Tall Trees: -33.953195, 18.455623
Conditions: Perfect (needed shade)
Radio Stuff: Huge pine trees and my throw line meant I was able to get a 20m dipole up high (easily 15m AGL) and had surprisingly good communications despite being down the side of a mountain. Chatted with a friend in Johannesburg and Namibia (SSB) for quite a while and got the power down to 25w while still able to hold the conversation. Very little noise considering my proximity to civilisation.
Notes: There have been a lot of muggings in this area. It is stupid to take expensive kit in a nice bag up here.